- RV & Van
- Ventilation Solutions
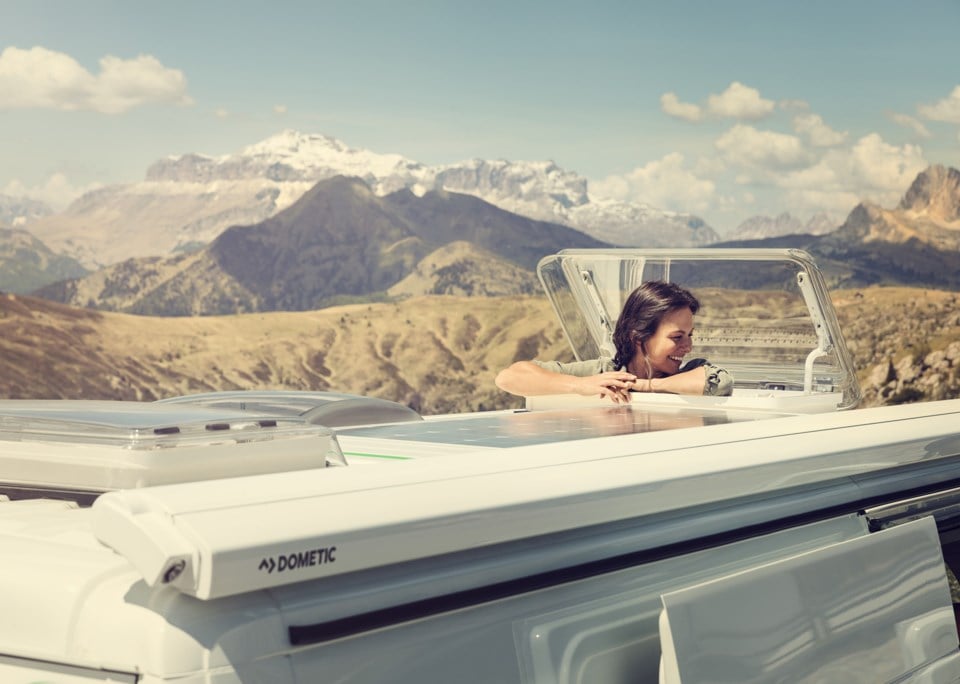
Ventilation Solutions
Don’t underestimate the importance of ventilation. Not only will it keep you cool on a hot day, it will also help keep your equipment in good working order. Dometic ventilation solutions and roof lights are very popular with outdoor people who dislike dampness and rust but appreciate good design and easy installation.
Browse by type
4 products|Sort
Showing 4 out of 4 products